Master Grilled Whole Chicken: Essential Tips for Perfect Results
There’s a certain magic that happens when a whole chicken meets the fiery embrace of a grill. The promise of incredibly crispy skin, permeated with smoky char, giving way to unbelievably juicy and tender meat, is enough to make any home cook’s mouth water. Yet, for many, the idea of grilling a whole chicken can feel daunting, conjuring images of unevenly cooked poultry or dry, lackluster results. The good news? Mastering a fantastic
grilled whole chicken recipe is far easier than you might imagine, and it's a culinary triumph within reach for anyone with a gas or charcoal grill. Forget heating up your kitchen on a hot day; elevate your outdoor cooking game and prepare to impress with this crowd-pleasing, hands-off method.
Unlocking the Secret to a Perfect Grilled Whole Chicken
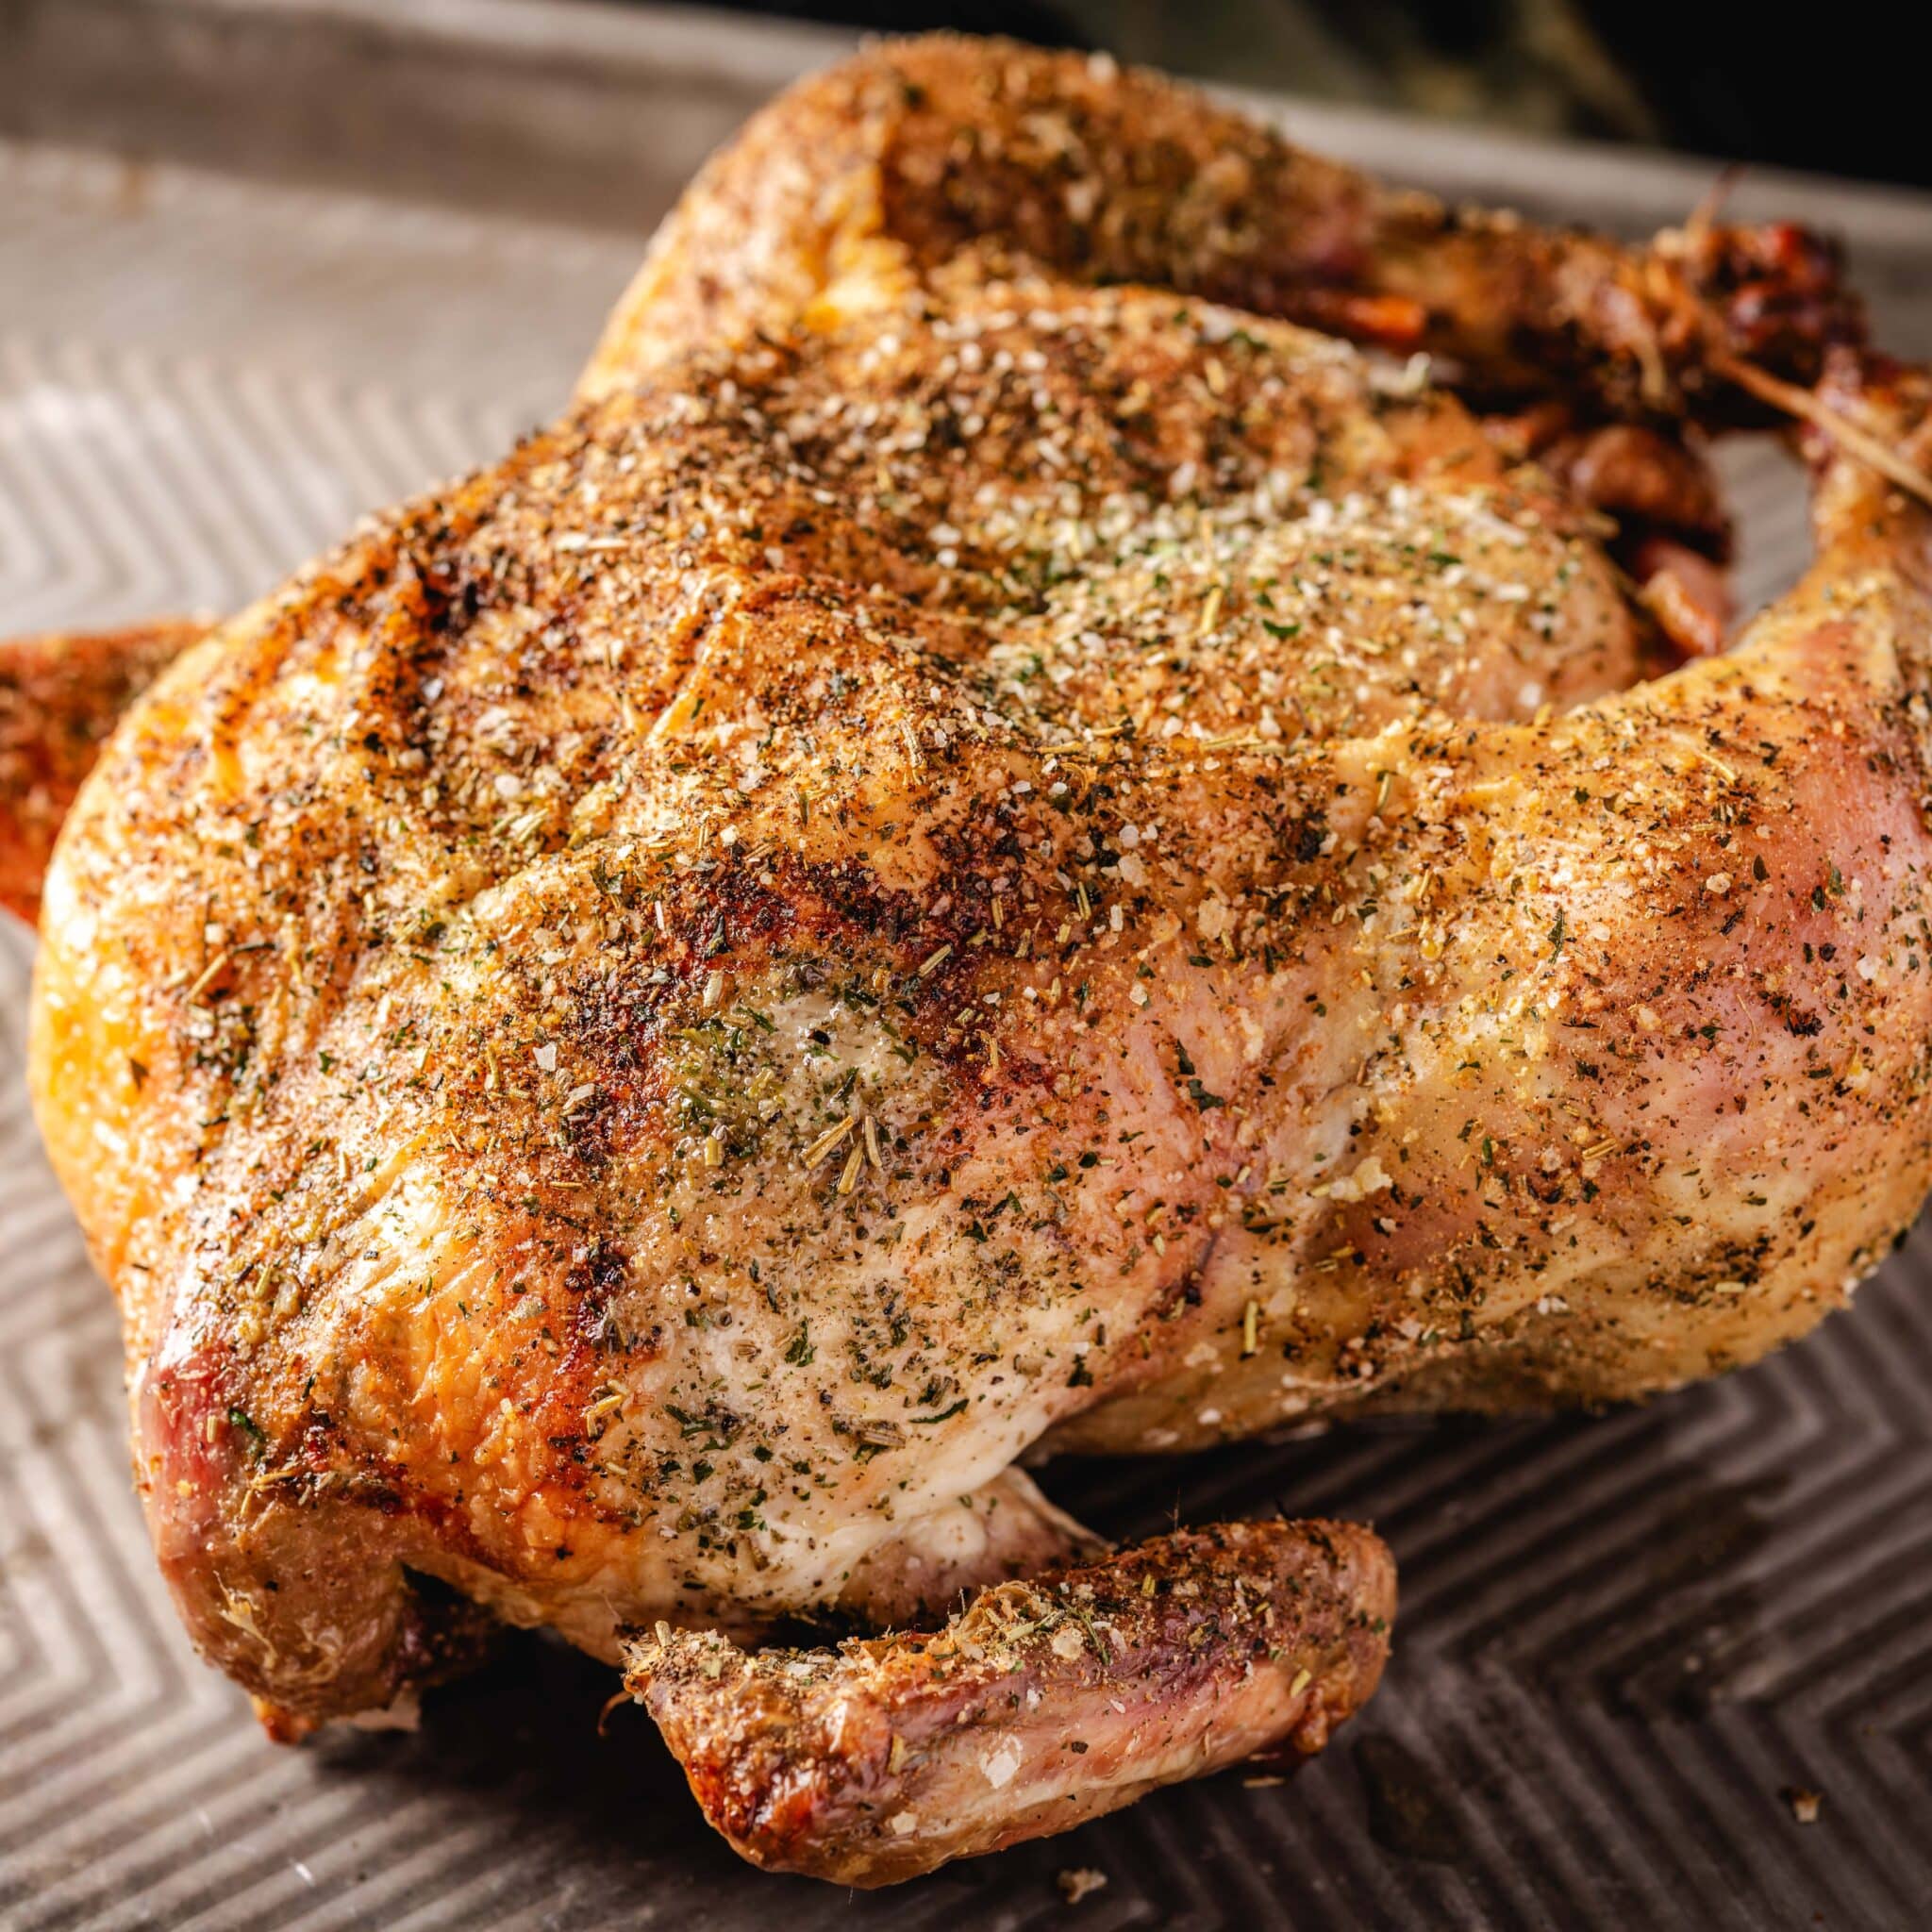
The primary goal when grilling a whole chicken is to achieve that perfect balance: gloriously crispy skin on the outside and moist, succulent meat inside, from breast to thigh. Unlike roasting, grilling imparts a unique smoky flavor and char that simply can't be replicated in an oven. This method is incredibly versatile, allowing you to "set it and forget it" for the majority of the cooking time, making it ideal for entertaining or a relaxed weeknight dinner.
Our journey to grilling perfection begins with understanding the core principles, applicable whether you wield a gas or charcoal grill. The key lies in proper preparation, strategic heat management, and the right tools to ensure safety and superior flavor.
The Foundation of Flavor: Prep and Seasoning Your Bird
While some purists might argue that a spectacular grilled whole chicken needs just three ingredients – the chicken, oil, and seasoning – we believe in layering flavors for an truly unforgettable experience. This guide is best suited for a 3 ½ to 4-pound whole chicken, which typically serves 4 people generously.
First, **the chicken**: Pat your bird thoroughly dry with paper towels. This crucial step removes surface moisture, which is the enemy of crispy skin. For an extra boost of juiciness and flavor, consider brining your chicken for a few hours or overnight before grilling. A simple salt solution can work wonders, especially for leaner breast meat.
Next, **the oil**: A light coating of olive oil, avocado oil, or another high smoke point oil serves multiple purposes. It helps the seasonings adhere, promotes even browning, and contributes to that desirable crispy skin. Rub it generously over the entire surface of the chicken.
Finally, **the seasoning**: This is where you can truly make your
grilled whole chicken recipe your own. While salt and freshly ground black pepper are essential starting points, don't stop there!
* **Dry Rubs:** These are fantastic for developing a beautiful crust and intense flavor. Think paprika (smoked or sweet), garlic powder, onion powder, dried herbs like thyme or rosemary, and a touch of cayenne for heat. Mix your chosen spices with salt and pepper, then rub generously inside the cavity and all over the exterior of the chicken.
* **Marinades:** If you prefer a more tender, deeply flavored chicken, a marinade is your best friend. Marinades typically contain an acidic component (like lemon juice or vinegar), oil, and a blend of herbs and spices. For a vibrant, zesty flavor profile, consider a Mediterranean-style marinade with fresh garlic, oregano, lemon juice, and olive oil. Allow your chicken to marinate for at least 2-4 hours, or preferably overnight, ensuring it's thoroughly coated.
Whichever method you choose, make sure the chicken is well-seasoned, both inside and out, before it hits the grill.
Mastering the Grill: Techniques for Gas and Charcoal
The secret to perfectly cooked chicken, with both white and dark meat reaching optimal juiciness, lies in **indirect grilling**. This technique allows the chicken to cook through gently without direct exposure to flames, preventing the skin from burning before the inside is done.
For Gas Grills:
Preheat your grill to medium-high heat. To create indirect heat, turn off the burner(s) directly beneath where the chicken will sit, leaving adjacent burners on to maintain the target temperature (around 350-375°F). For a two-burner grill, you'd typically turn off one burner and place the chicken on that side. For a three or more burner grill, you might turn off the middle burner(s) and use the outer ones.
For Charcoal Grills:
Arrange your hot coals on one side of the grill, creating a direct heat zone and an indirect heat zone. Alternatively, for a larger grill, you can bank the coals on opposite sides, leaving the center clear for the chicken. Use the grill's vents to help regulate the internal temperature, aiming for that same 350-375°F range.
Regardless of your grill type, a crucial tool for even cooking and all-over crispy skin is a **vertical chicken roaster**. This ingenious device holds the chicken upright, allowing hot air to circulate freely around the entire bird. If you don't have one, a sturdy beer or soda can (cleaned, of course, and potentially filled with liquid) can serve a similar purpose, giving rise to the popular "beer can chicken." A Bundt pan can also work in a pinch, though the bottom may not brown as evenly.
Once your grill is set for indirect heat and preheated, place the seasoned chicken on the roaster with the legs positioned at the bottom for stability. Close the lid and let the magic happen. The cooking time will be at least 60 minutes, but it's important to remember that **temperature, not time, is your ultimate guide**. For more in-depth guidance on specific grill setups, check out our companion article:
Grill a Whole Chicken: Easy Steps for Gas & Charcoal Grills.
Essential Tools for Grilling Success & Achieving Perfect Doneness
While the allure of crispy skin and smoky aroma is undeniable, ensuring your chicken is safely cooked to the correct internal temperature is paramount. This is where a few key tools become indispensable.
The most trusted instrument in any chef's arsenal is an **instant-read thermometer**. This is not a luxury; it's a necessity. It eliminates guesswork and guarantees perfectly cooked meat every single time, preventing both undercooked dangers and overcooked dryness. To use it correctly, insert the thermometer into the thickest part of the breast meat, being careful not to touch any bone.
The target temperature for removing your chicken from the grill is **160°F (71°C)**. Many home cooks are surprised by this, expecting the FDA-recommended 165°F (74°C). However, chicken, like other meats, experiences **carryover cooking** – its internal temperature will continue to rise by a few degrees after it's removed from the heat. This means that by pulling it at 160°F, it will naturally climb to the safe 165°F during resting, resulting in incredibly juicy meat.
While the thermometer is your primary indicator, an old chef's trick can serve as a secondary check: make a small cut between the thigh and the breast. If the juices run clear, your chicken is likely done. If they are still pink, it needs more time. However, relying solely on this method risks losing precious juices, making the thermometer the superior choice.
Your **vertical roaster** (or beer can/Bundt pan substitute) is another critical tool for ensuring even cooking and maximum crispiness. By keeping the chicken upright, hot air can circulate around the entire surface, leading to that coveted crackly skin from top to bottom. For more tips on achieving that perfect crunch and incredible juiciness, explore our article:
Juicy Grilled Whole Chicken: Just 3 Ingredients for Crispy Skin.
Beyond the Basics: Tips for Next-Level Grilled Whole Chicken
You've mastered the technique, but a few final touches can elevate your grilled whole chicken from great to extraordinary.
* **Resting is Non-Negotiable:** Once your chicken reaches 160°F and is off the grill, transfer it to a cutting board and tent it loosely with foil. Let it rest for at least 10-15 minutes. This allows the juices, which have been driven to the center by the heat, to redistribute throughout the meat, ensuring every bite is moist and flavorful. Skipping this step is a common mistake that leads to dry chicken.
* **Crispy Skin Secrets:** Beyond the vertical roaster, ensure your chicken skin is as dry as possible before applying oil and seasoning. For an extra crisp, you can start the chicken over slightly higher heat (but still indirect) for the first 15-20 minutes, then reduce the heat to your target range.
* **Saucing for Success:** If you plan to baste your chicken with a barbecue sauce or glaze, do so only during the last 10-15 minutes of grilling. Many sauces contain sugar, which can burn quickly over direct heat, leading to an acrid flavor. Alternatively, serve your favorite sauce on the side.
* **Carving with Confidence:** After resting, carve your chicken like a pro. Start by removing the legs and thighs, then separate the drumsticks from the thighs. Next, slice off the breasts, and finally, remove the wings.
Grilling a whole chicken is a rewarding culinary experience that combines the smoky allure of barbecue with the comfort of a classic roast. It’s a method that is far less intimidating than it appears, delivering consistently juicy meat and shatteringly crispy skin with minimal fuss.
By embracing indirect heat, utilizing an instant-read thermometer, and understanding the role of a vertical roaster, you'll soon be turning out perfectly cooked
grilled whole chicken recipe that will earn you rave reviews. So, fire up your grill, embrace the simplicity, and get ready to enjoy one of the most satisfying meals you can make outdoors. Your taste buds (and your family) will thank you.